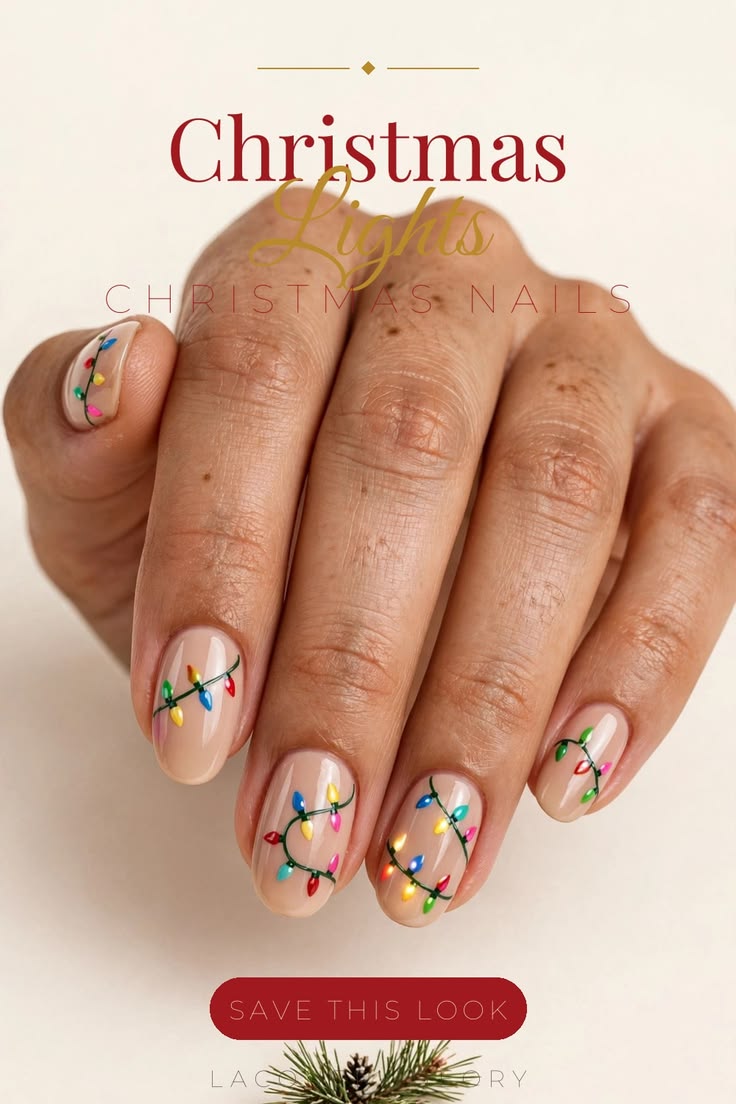
Christmas light strand nails are the twinkling manicure everyone is saving this season — and once you see them, you’ll understand why. Glossy sheer nude nails, one thin dark-green wavy strand looping across every nail, and tiny colorful bulbs in red, blue, turquoise, yellow, green and pink: it’s a string of Christmas lights, worn right on your fingertips.
This is the kind of design that looks as if it took hours in the salon, but it is really a beginner-friendly paint job. If you can draw a wavy line and dot a few tiny bulbs, you can do this — and the dot-and-join trick below makes the strand almost foolproof.
It suits Christmas parties, family photos, Secret Santa swaps and office holiday days alike, and it works on the nails you already have. Here is how to get the look, step by step.
The look at a glance
- Base: glossy sheer nude / pale beige-pink
- Art: thin dark-green wavy light strand on every nail
- Bulbs: red, royal blue, turquoise, yellow, orange-yellow, green and pink
- Shape: oval
- Length: medium, just past the fingertip
- Finish: high gloss, no glitter
- Skill: beginner-friendly base, fine-line art with a trick
- Best for: Christmas parties, family photos, Secret Santa, office holiday days
What you need
- Sheer nude polish
- Dark green polish
- Bright polishes for the bulbs (red, blue, turquoise, yellow, green, pink)
- A fine nail-art brush or a toothpick
- A dotting tool (or the round end of a toothpick)
- Glossy top coat
No lamp, no salon tools — everything here lives in a regular polish drawer.
How to get this look — step by step
Step 1 — Prep + sheer nude base. Shape your nails into a soft oval, push back your cuticles, and paint one or two thin coats of sheer nude. Let each coat dry fully before the next one — a smooth, dry base is what makes the strand sit cleanly.
Step 2 — Draw the strand. With a fine brush or a toothpick dipped in dark green polish, draw one thin wavy line across each nail, like a real string of lights. Keep it loose and wavy — wobbles make it look like a wire, not a mistake.
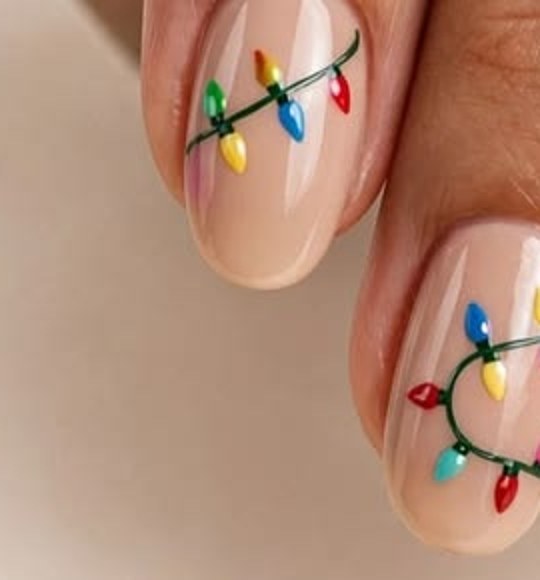
Step 3 — Dot the bulbs. Along the strand, dot tiny teardrop-shaped bulbs in alternating colors — red, blue, turquoise, yellow, green and pink. Smaller is prettier here: little bulbs read as lights, big blobs read as spots.
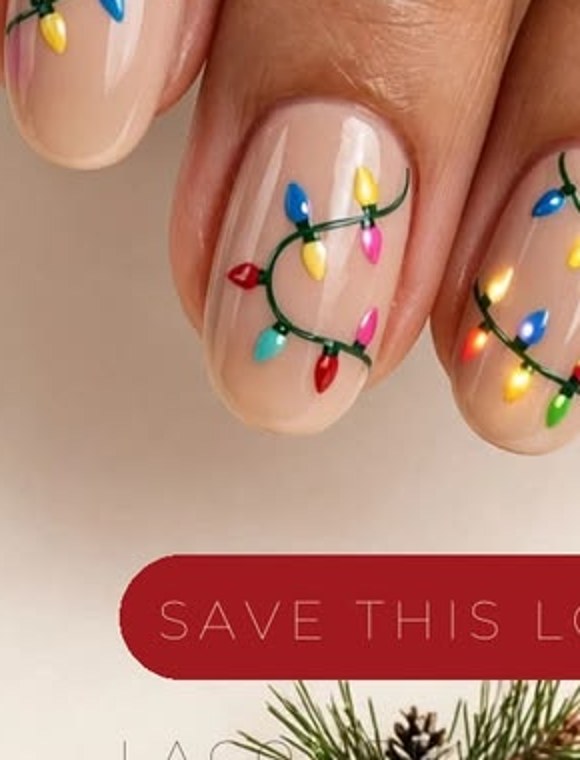
Step 4 — The trick: dot first, then join. Place tiny green dots where each bulb will sit, then connect them with your wavy line. It takes the pressure off drawing a perfect curve — and a playful loop on the middle finger, like the one in the photo, is welcome.

Step 5 — Gloss seal. Finish with one glossy top coat over every nail to lock in the art and give that lit-up shine. Re-gloss on day 3 to keep the twinkle fresh.
Make it yours
- Classic lights on nude (the original)
- On soft white (a snowy base)
- On pale pink (softer and sweeter)
- Short-nail version (smaller bulbs, one strand per nail)
More Christmas ideas you’ll love
Browse more looks in our Christmas Nails collection, save ideas from the Christmas Nail Ideas board on Pinterest, or go bold with the Red Christmas Nails board.
Quick questions
Can beginners do the strand line? Yes — the dot-and-join trick in step 4 means you place the dots first and join them up, so there is no pressure to draw a perfect curve freehand.
Does it work on short nails? Yes — use smaller bulbs and keep to one strand per nail, and the look still reads beautifully.
How do I keep the shine? A glossy top coat seals the art; add another thin layer on day 3 to keep the twinkle fresh.
Loved this look? Save the pin and follow Lacquer Theory on Pinterest for daily nail ideas.